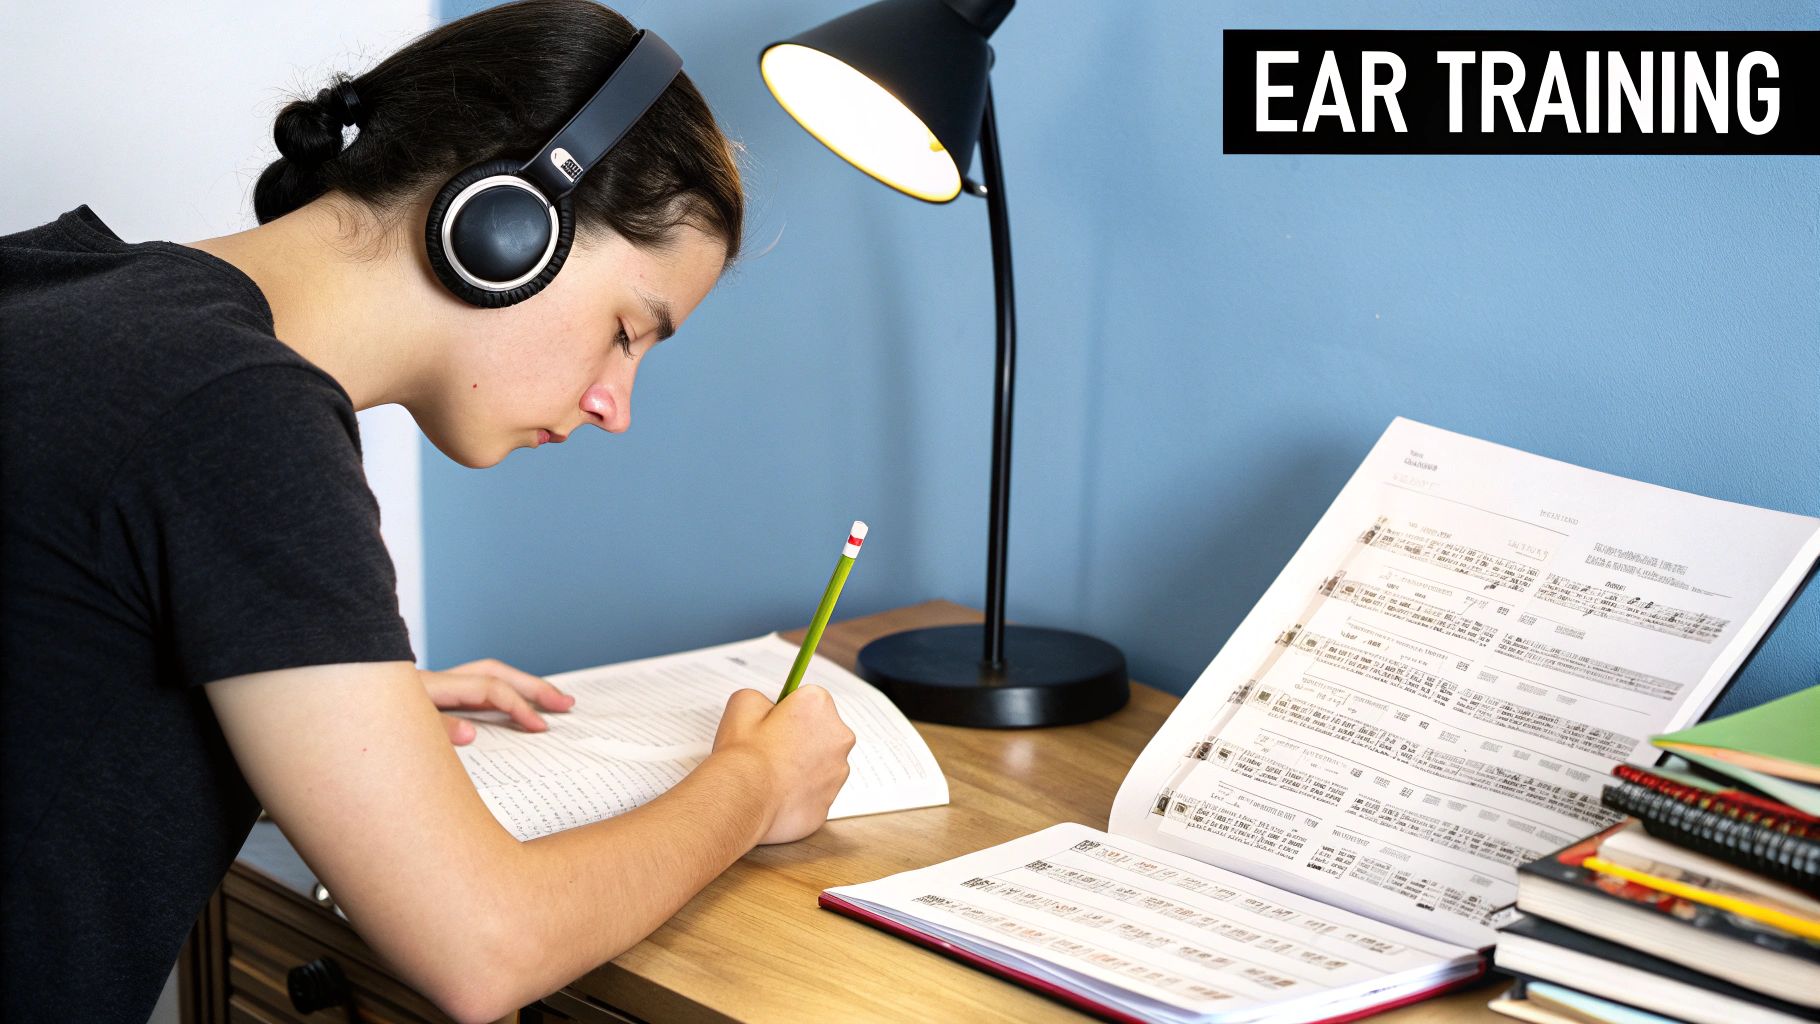
Master Your Skills: Practice Melodic Dictation Effectively
Improve your ear with proven methods to practice melodic dictation. Break down melodies and boost your musical listening skills today!
Posted by
Joe BrewerRelated reading
Music Intervals Training: Boost Your Ear & Skills Today
Master music intervals training with expert exercises and tips. Enhance your ear training skills quickly and effectively. Start improving now!
Understanding the Circle of Fifths: A Musician's Essential Guide
Master understanding circle of fifths with this comprehensive guide. Learn to read, build chords, and enhance your music skills today!
How to Learn Music by Ear and Master Songs
Discover how to learn music by ear with actionable techniques and real-world exercises. Transform your musical skills and start playing any song you hear.
Master Your Skills: Practice Melodic Dictation Effectively
That feeling of staring at a blank page while a melody evaporates from your memory? It's a frustratingly common experience for music students. If you've been there, it’s not because you have a “bad ear.” The problem is that the way most of us are taught to practice melodic dictation is fundamentally broken.
The secret isn't to just "try harder." It's to stop treating dictation as one massive, intimidating skill.
Why Your Melodic Dictation Practice Feels Like Guesswork
When you try to hear pitch, rhythm, and meter all at the same time, your brain just gets overloaded. Imagine trying to juggle three flaming torches before you’ve even learned to toss a single ball in the air. That’s what most dictation practice feels like, and it's why so many musicians get stuck, convinced they're just not cut out for ear training.
The truth is, your method is likely the culprit, not your natural ability. Most of us are told to listen to a melody and immediately start scribbling, trying to capture everything in one frantic pass. This all-or-nothing approach sets you up for failure by completely ignoring the building blocks of what you're actually hearing.
The Trouble with "By-the-Book" Instruction
A lot of the standard advice out there gives you rigid, step-by-step rules that can actually get in the way of your own listening instincts. In fact, some of this guidance can do more harm than good.
A fascinating 2007 study on melodic dictation performance found something that might surprise you. Students who were given very specific, rigid instructions during practice actually did worse than students who were allowed to develop their listening strategies more organically. The group with less hand-holding showed better accuracy with rhythm, pitch, and the overall transcription. You can dig into the full research from Texas Tech University and see for yourself how a freer approach can yield better results.
This tells us something important: learning to really listen on your own terms is far more powerful than just following a prescriptive formula. The better strategy is to break the melody down into its core parts.
The Layered Approach: Real, lasting progress in melodic dictation comes from mastering individual skills one by one. First, you get the rhythm down cold. Then, you learn to hear the shape, or contour, of the melody. Only then do you start identifying the specific pitches and intervals.
By focusing on one thing at a time, you build a foundation you can actually rely on. You stop guessing and start methodically piecing together a puzzle with parts you already understand. This layered method builds real confidence from the ground up, turning dictation from something you dread into a skill you can be proud of.
To put this into practice, think of building your skills in distinct layers, starting with the most foundational elements and adding complexity over time. This table outlines how you can structure your practice.
The Layered Approach to Melodic Dictation
| Skill Layer | Focus Area | Key Goal |
|---|---|---|
| Foundation | Rhythm | Accurately clap or tap back the rhythm of the melody, ignoring pitches entirely. |
| Contour | Melodic Shape | Hum or sing the general up-and-down movement of the melody, focusing on direction, not specific notes. |
| Solfege | Scale Degrees | Identify the starting and ending notes, then fill in the solfege syllables for the entire phrase. |
| Integration | Full Transcription | Combine your rhythmic and pitch skills to notate the complete melody accurately on the staff. |
This systematic progression ensures you're never overwhelmed. Each layer supports the next, making the final step of full transcription feel like a natural conclusion rather than an impossible leap.
Building Your Foundation with Rhythm and Contour
Before you even try to pin down specific notes, you need to simplify. Most people dive right in, trying to catch every pitch and rhythm at once, which is a classic recipe for a mental traffic jam. It’s overwhelming and, honestly, not very effective.
Instead, let’s break it down. Think of it like learning to draw a face. You wouldn't start by trying to render a perfect eyelash. You’d start with the basic shapes—the oval of the head, the lines for the eyes and nose. For melodic dictation, our "basic shapes" are rhythm and contour. By tackling these two elements separately, you’re not just guessing; you’re methodically solving a puzzle.
Master Rhythmic Notation First
The rhythm is the skeleton of any melody. You can have all the right pitches, but if the rhythm is off, the tune is completely wrong. That’s why we start here.
Forget the five-line staff for a bit. Seriously, just ignore it. Grab a piece of paper and draw a single horizontal line. Now, when you listen to a melody, your only goal is to jot down the rhythm on that line. You can use simple slashes or noteheads—don't worry about their vertical position at all. This one trick instantly removes 50% of the difficulty.
Here’s a practical approach that works:
- First Listen: Do nothing but listen. Get a feel for the tempo and meter. Don't even pick up your pencil.
- Second Listen: Tap your foot to the pulse and count the main beats out loud ("1, 2, 3, 4"). This internalizes the meter and gives you a solid framework.
- Third Listen: Now, write. Using your single line, notate the rhythms you hear. Focus entirely on capturing the correct durations—quarter notes, eighth notes, sixteenths, rests, whatever you hear.
This focused practice builds your rhythmic vocabulary way faster than juggling everything at once. You'll quickly start to spot common rhythmic cells that pop up again and again in music.
Key Insight: Your brain can process rhythm much more effectively when it isn't also struggling to identify pitches. By splitting the task, you give yourself the mental space to solve one problem at a time. The result is higher accuracy and a whole lot less frustration.
Sketch the Melodic Contour
Once you're feeling solid with rhythms, it’s time to add the next layer: the melodic contour. This is all about capturing the shape of the melody. It’s a wonderfully intuitive way to practice melodic dictation because it connects what you hear to what you draw without getting bogged down in specifics.
Again, no staff paper needed yet. Just listen and draw the general shape of the melody. Does it leap up high? Does it drift down by step? Does it hover on the same note for a bit? Your sketch might look like a simple wavy line or a series of dots moving up and down the page.
Take "Twinkle, Twinkle, Little Star." The opening phrase would look something like two dots on the same level, then a big jump up for two more dots, a small step down, and then two final dots. You’ve just created a visual map of the melody.
This contour sketch is your secret weapon when you finally move to the staff. You’ve already figured out the direction of the notes. All that’s left is to hang the specific pitches onto the framework you've already built. It transforms the act of transcription from a frantic scramble into a much calmer process of just connecting the dots.
Getting the Pitches Right: From Intervals to Solfege
Once you've got a handle on the rhythm and the general shape of a melody, it's time to zoom in on what trips up most musicians: getting the specific pitches right. This is where a lot of people hit a wall. They spend hours drilling isolated intervals, but that approach often misses the point. The real secret isn't just knowing what a perfect fifth sounds like, but understanding how that fifth behaves within a real piece of music.
To get there, we'll lean on two powerful, interconnected tools: recognizing intervals in context and using movable-do solfege. These methods train your ear to hear the relationships between notes. Suddenly, that random string of pitches starts to feel like a logical musical sentence you can actually understand and write down.
Hearing Intervals as Part of the Scenery
Drilling random, out-of-context intervals is a bit like memorizing a dictionary. You might know the words, but you have no clue how to form a sentence. A much more practical way to practice melodic dictation is to hear intervals in relation to a tonal center—the key.
The easiest way to start is by tying common intervals to songs you already know by heart. These "anchor songs" create an instant, gut-level connection that your ear won't forget.
Here are a few classics that work for almost everyone:
- Major Second: Think of the first two notes of "Happy Birthday."
- Perfect Fourth: The unmistakable opening of "Here Comes the Bride."
- Perfect Fifth: It’s hard to miss the "Star Wars" theme opener.
- Major Sixth: The jump on "My bon-" in "My Bonnie Lies Over the Ocean."
- Octave: The leap in "Somewhere Over the Rainbow."
With these anchors in your back pocket, try listening to a simple melody and picking out just one or two prominent intervals. Don't stress about transcribing the whole thing. Just ask yourself, "Did that jump sound like 'Star Wars'?" This approach transforms interval recognition from an abstract classroom exercise into a practical skill you can use on the fly.
The big breakthrough in dictation happens when you stop hearing a series of disconnected notes and start hearing their purpose within the harmony. Solfege gives you the mental framework to make that leap.
Using Solfege as Your Internal GPS
If intervals help you measure the distance from one note to the next, solfege tells you where each note "lives" within the key. By using the movable-do system (where "Do" is always the home base, or tonic), you build a powerful mental map of the scale.
This is exactly why dedicated musical training is so incredibly effective. Research consistently shows that a musician's background is a massive predictor of their success in telling melodies apart. One analysis even found that formal training was responsible for around 46% of the difference in musicians' melodic discrimination abilities. It’s a powerful testament to how structured systems build up your auditory skills. You can dig deeper into the research on individual differences in musical ability if you're curious.
When you start with solfege, ease into it. Don't dive headfirst into complicated chromatic lines.
- Start with Pentatonic Melodies: First, just sing and write down simple five-note tunes using only Do, Re, Mi, So, and La. Think of songs like "Amazing Grace." This helps solidify your sense of the most stable notes in the scale.
- Bring in Fa and Ti: Once you're comfortable, gradually work on melodies that include Fa and Ti. Really focus on the unique sound of the half-steps between Mi-Fa and Ti-Do. In any major key, these are your most important signposts.
- Internalize Common Patterns: Drill short, common melodic fragments over and over. Think Do-Re-Mi, So-Fa-Mi-Re-Do, and arpeggios like Do-Mi-So. Practice them until you can hear them in your sleep.
This kind of progressive training fine-tunes your "inner ear." Before long, you'll be able to anticipate where a melody is going and identify pitches based on their role in the key. You'll stop hearing a random string of frequencies and start hearing a clear story told with Do, Re, and Mi.
A Practical Process for Taking Dictation
Alright, let's put it all together. You've been working on rhythm, contour, and pitch separately. Now it's time to merge those skills into a single, repeatable process that you can rely on, especially when the pressure's on.
The biggest mistake I see students make is trying to hear everything at once. This almost always leads to panic and a messy, inaccurate transcription. The real key is to slow down and adopt a multi-listening strategy. With this approach, each time you hear the melody, you have a single, clear goal. This focus is what turns a frantic guessing game into a methodical analysis.
The Multi-Listen Method
Your first listen is crucial, and here's the catch: you won't write a single note. Your only job is to internalize the music. Just close your eyes, feel the pulse, and quietly hum along. The goal is simply to get the melody into your short-term memory without judgment or analysis. Just experience it.
On the second listen, your focus shifts entirely to rhythm and contour. Grab your pencil and sketch out the rhythmic values you hear on a single line. While you're at it, draw the general shape of the melody. Does it move in smooth steps, or are there big, dramatic leaps? This creates a solid skeleton for your transcription.
Only on the third listen (and any that follow) should you start filling in the specific pitches.
- Find Your Bearings: Start by locking in that first note. You’ve already established the key in your ear, so compare that first pitch to your internal sense of "Do."
- Set Your Anchor Points: Next, identify the notes you feel 100% certain about. This might be the highest note, the lowest note, or the final note, which often resolves to the tonic. These become your anchors.
- Fill in the Gaps: With your anchors in place, you can now work your way through the rest of the melody. Use your knowledge of intervals and solfege to connect the dots between the notes you already know.
The goal isn’t perfection on the second or third try. The real aim is to gather more accurate information with each pass. This systematic process builds confidence and yields far better results than scrambling to write everything down at once.
This infographic breaks down that routine into a simple, three-stage workflow.
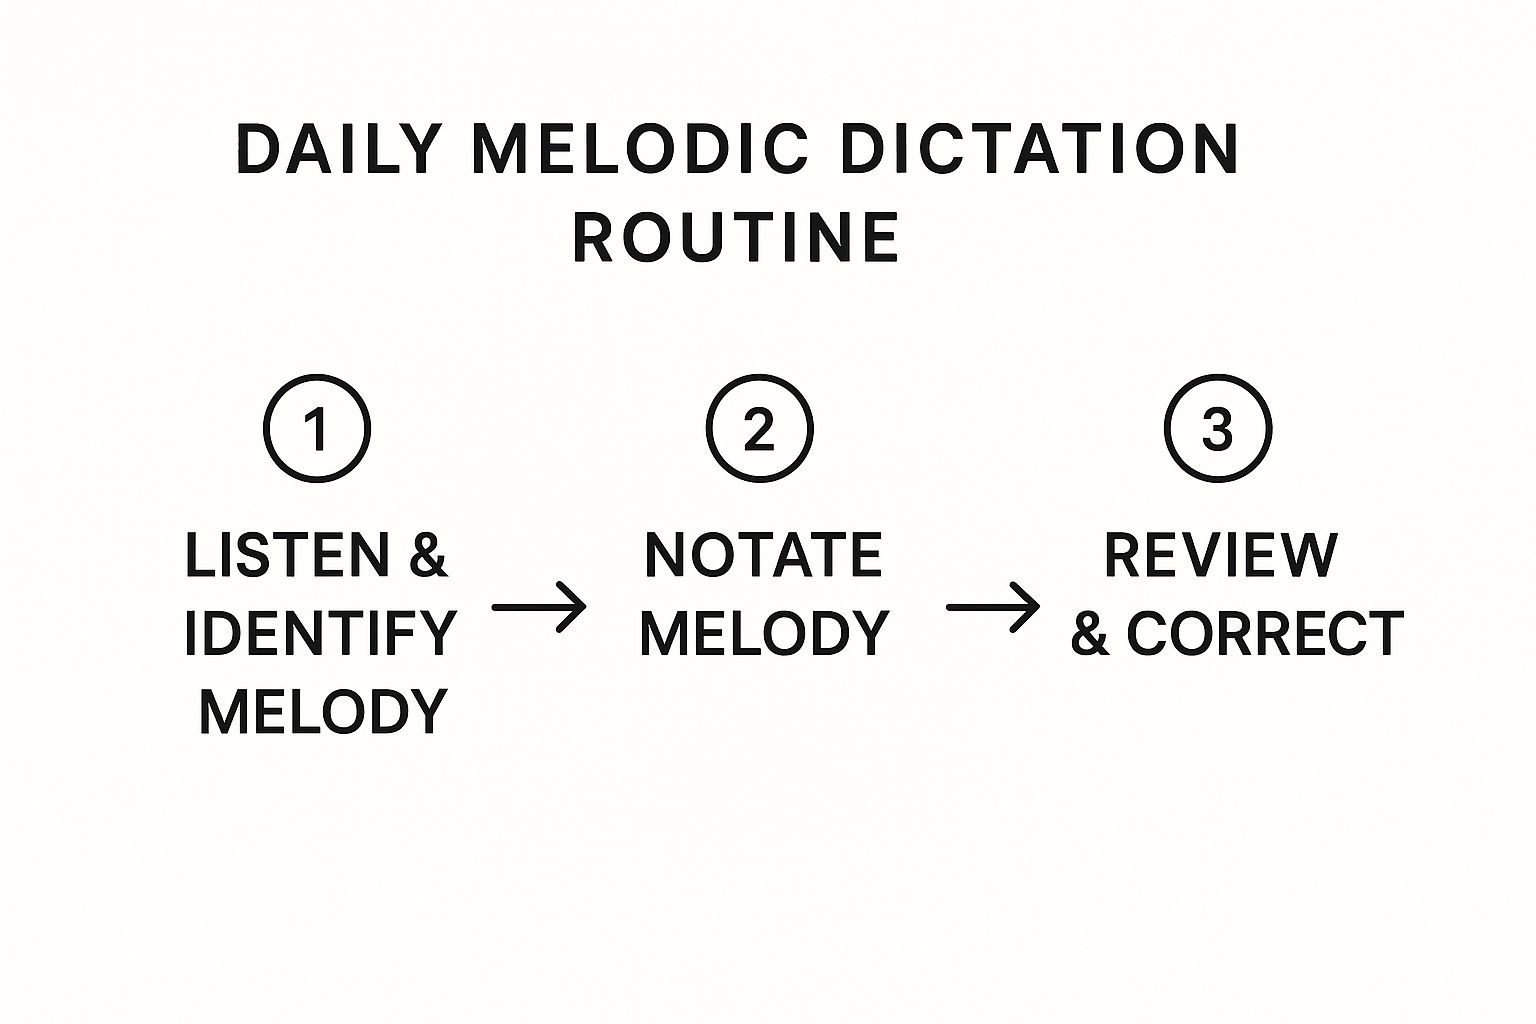
It really visualizes the core loop of effective practice: you listen, you notate, and then you critically review your work to find patterns in your mistakes.
A Dictation Session Checklist
To make this process second nature, it helps to use a mental checklist every time you practice melodic dictation. This keeps you on track and prevents your mind from going blank during a test.
Before the Music Starts:
- Establish the Key: Play the tonic chord or arpeggio on a piano or app. Hum "Do" until it feels locked in.
- Set the Meter: Listen closely to the count-off or initial pulse to establish the time signature. Start tapping the beat.
During the Dictation: 3. Listen #1 (Internalize): Eyes closed, no writing. Just listen and hum it back to yourself quietly. 4. Listen #2 (Rhythm & Contour): Notate the complete rhythm and sketch the melodic shape above it. 5. Listen #3 (Pitches): Start filling in the notes, beginning with your anchor points. 6. Listen #4 (Review & Refine): Use this final listen to check your work. Sing what you've written and compare it to the original melody you hear. Does it match? Fix any discrepancies.
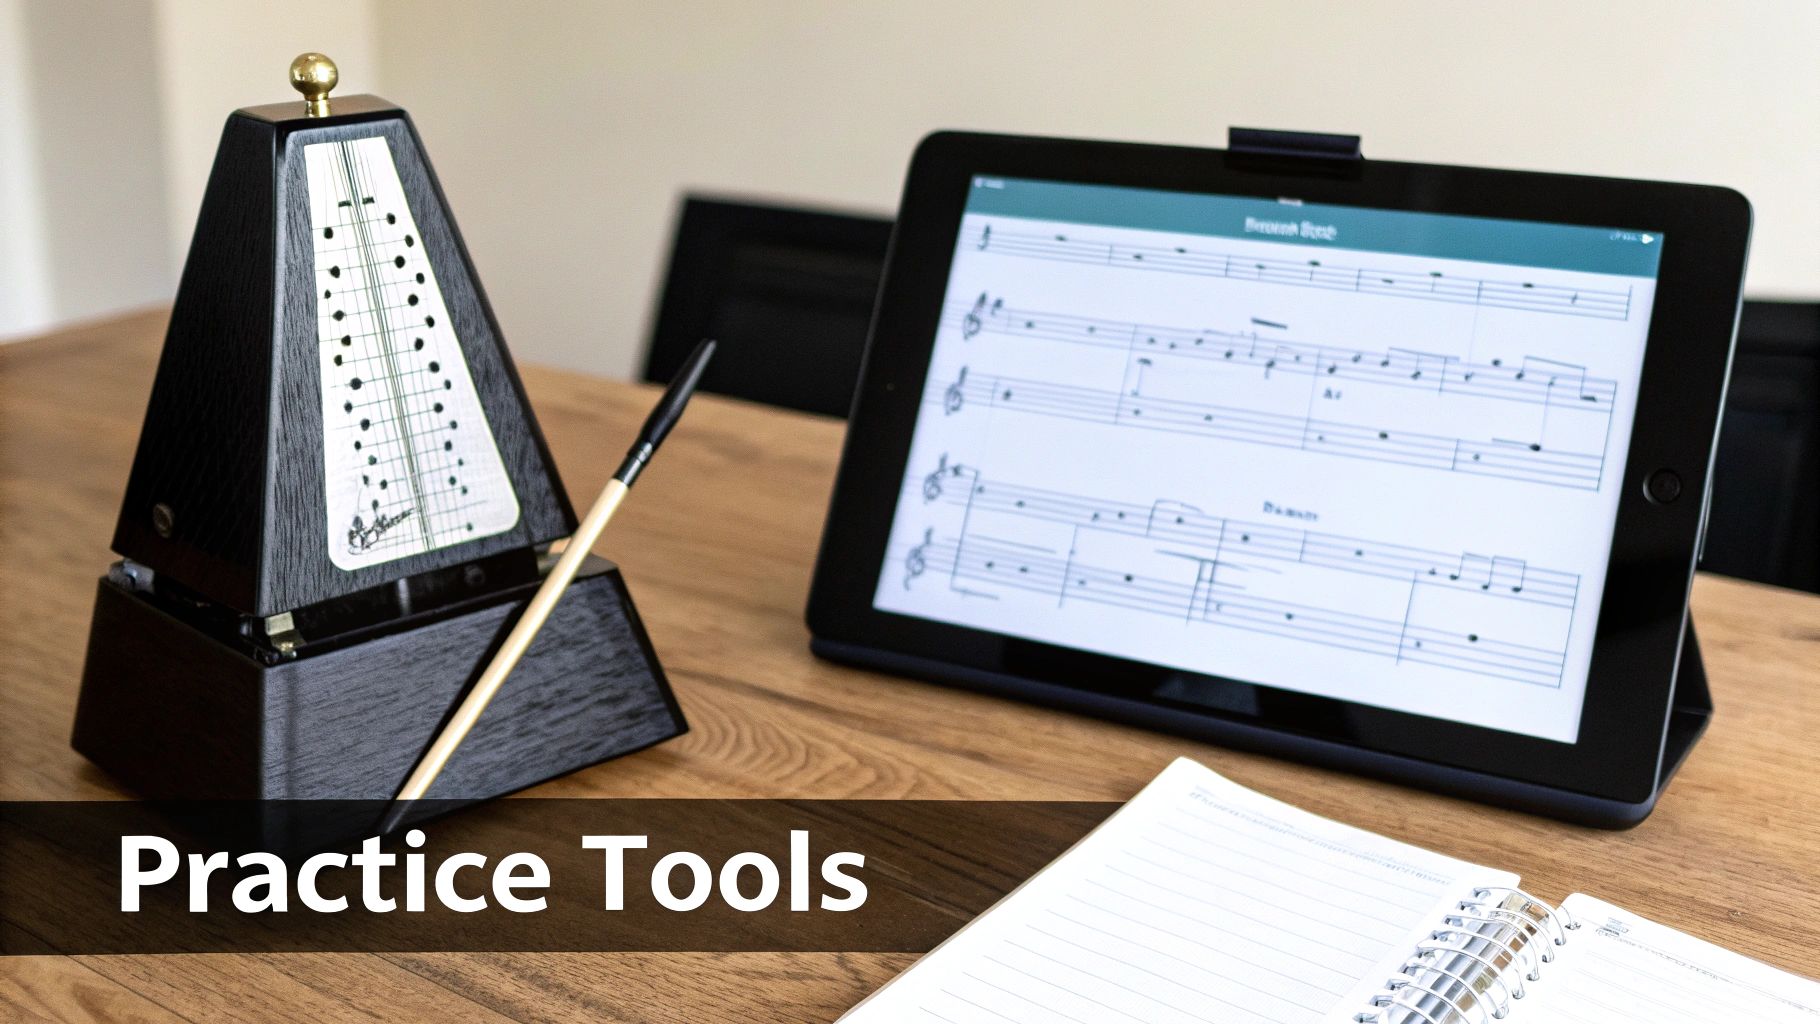
The Right Tools for Your Melodic Dictation Toolkit
Let’s be honest, consistent practice is what builds a great ear. But the right tools can make that practice smarter, not just harder. While your ears are always the main event, a few key resources can seriously accelerate your progress by helping you zero in on your specific weak spots.
Think of these tools not as a magic bullet, but as incredibly efficient training partners. They turn what could be a slog of rote memorization into something far more engaging, making it much easier to stick with a daily routine and get the high-quality reps you need.
Websites and Apps for Your Daily Drills
First things first, you need to nail the fundamentals like intervals and chord qualities. For this, a few websites and apps are indispensable because they give you instant feedback. That immediate correction is crucial for preventing bad habits from taking root.
A fantastic place to start is Teoria.com. It’s loaded with customizable exercises covering everything from basic interval recognition to full-blown melodic dictation. Another great one is TonedEar, which has a simple, no-fuss interface perfect for quick daily sessions. I like to think of these as my digital flashcards.
Just 10-15 minutes a day on one of these sites builds the kind of rapid recall you need to practice melodic dictation in real time. It truly makes a world of difference.
The real power of these tools is their ability to generate endless new examples. You can't just memorize the answers. You're forced to actually listen and engage your ear every single time, which is exactly what you want.
Recommended Melodic Dictation Practice Tools
Finding the right app can feel overwhelming, so here’s a quick rundown of a few I’ve found genuinely useful. Each has its own strengths, so consider what you need to work on most.
| Tool | Best For | Key Feature | Cost |
|---|---|---|---|
| Teoria.com | Comprehensive theory & ear training | Wide range of customizable exercises | Free |
| TonedEar | Quick, no-frills daily practice | Simple, focused interval & chord drills | Free |
| Tenuto (by musictheory.net) | Foundational skills & visual feedback | Clean interface with a great keyboard/fretboard visualizer | Paid (iOS App) |
| Functional Ear Trainer | Solfege-based contextual listening | Trains you to hear notes in relation to a key center | Free / Paid (Mobile) |
No single tool is perfect for everyone, but starting with a solid drill-based app will build the foundation you need for more complex work.
Taking Control with Custom Exercises
Eventually, you'll move beyond generic drills and need to tackle the specific patterns that trip you up. This is where music notation software like MuseScore or a Digital Audio Workstation (DAW) becomes your secret weapon.
Instead of just reacting to random melodies, you get to be the one in charge. For example, if you always confuse a major sixth with a perfect fifth, you can open up MuseScore and write a dozen short melodic fragments that jump between those two intervals. Listen, transcribe, and check your work.
This approach lets you build a practice routine that’s perfectly tailored to what you need.
- Isolate Your Problem Intervals: Write short phrases that hammer on an interval you find tricky.
- Drill Rhythmic Figures: Create exercises focused on a rhythm that gives you headaches, like dotted-eighths followed by sixteenths.
- Conquer Awkward Keys: Write simple, diatonic melodies in keys you tend to avoid, like Gb Major or C# minor.
The Underestimated Power of Slowing Things Down
Here’s a technique that feels like cheating but is actually one of the most effective learning tools available: slowing down audio without changing the pitch.
Almost any DAW (like GarageBand, Ableton Live, or Reaper) and even specialized apps can do this. When you're trying to transcribe a blistering sax solo or a fast violin line from a real piece of music, trying to catch it all at full speed is a recipe for frustration.
Slow it down to 50% or 75% speed. Suddenly, your brain has enough time to process every single note and rhythmic detail. This is the bridge that takes you from textbook exercises to transcribing the music you actually love.
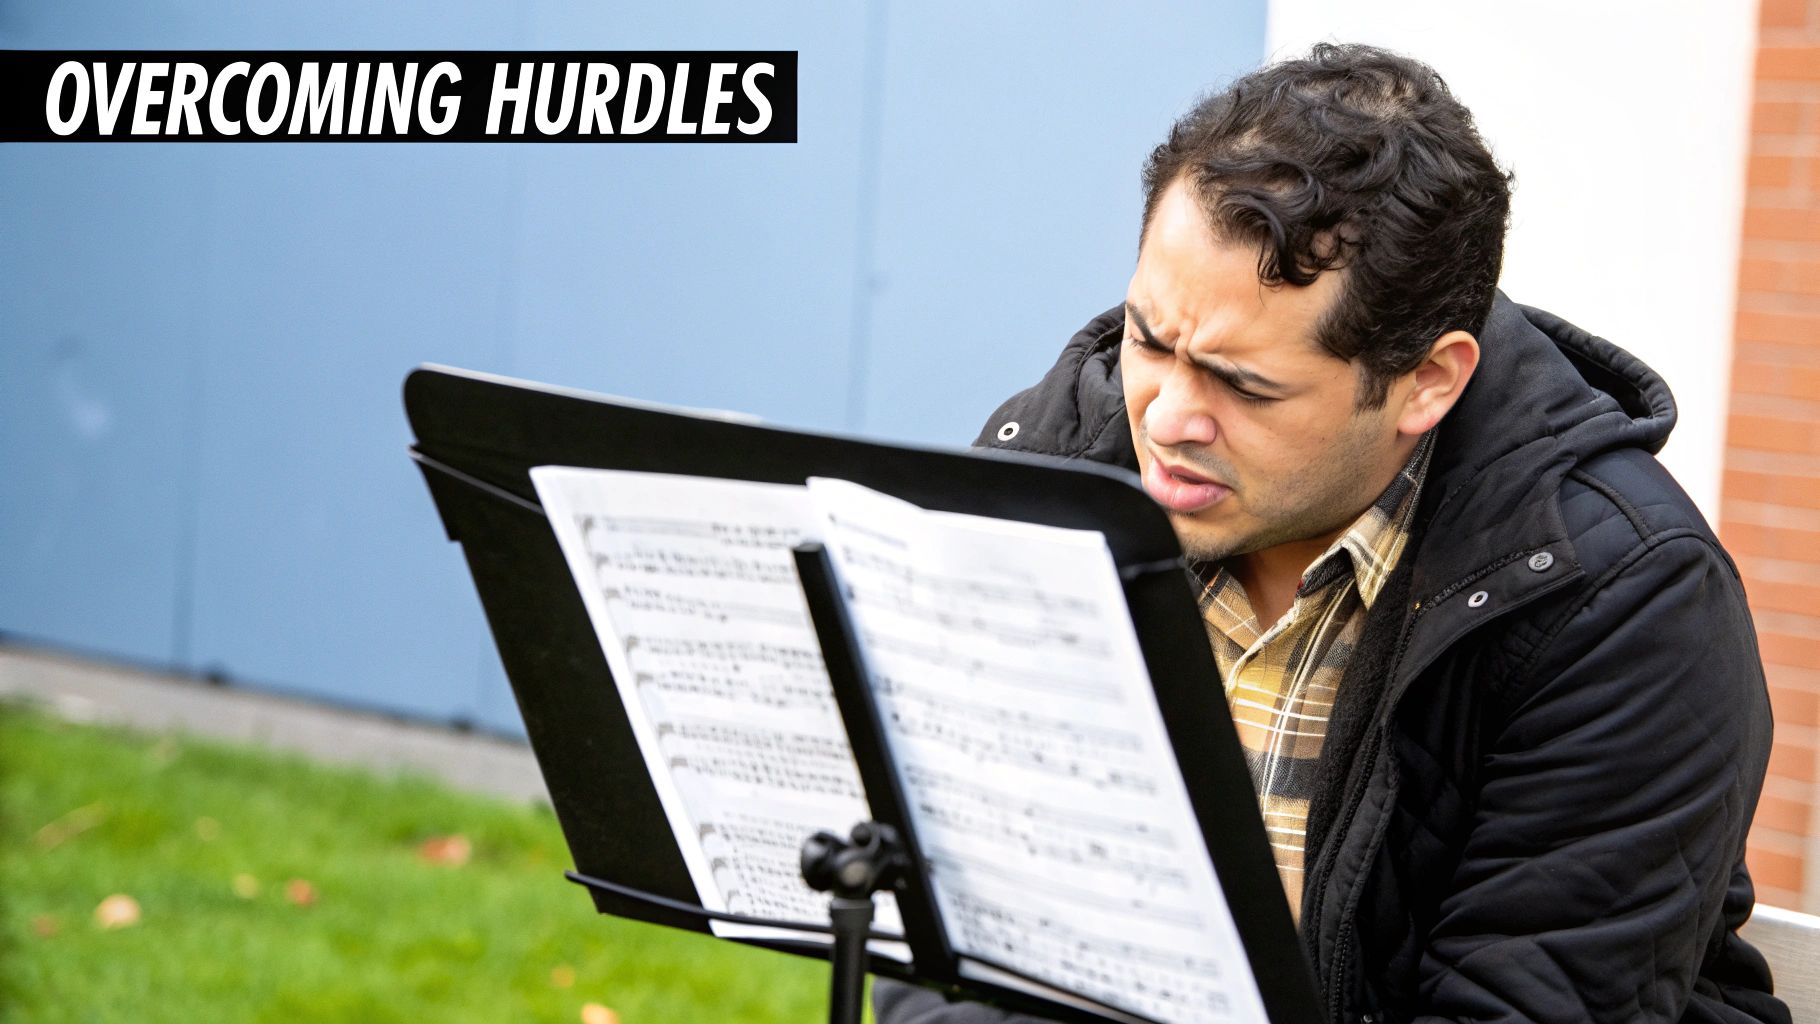
A Few Common Questions About Melodic Dictation
Even with the best game plan, you're going to hit some roadblocks. That's completely normal. When you practice melodic dictation, certain hurdles can feel uniquely frustrating, but trust me—we’ve all been there. Knowing the common sticking points and, more importantly, how to get past them is a huge part of your growth.
Let's walk through some of the questions I hear most often from students. Think of this as your personal troubleshooting guide for those moments when you feel stuck.
"How in the World Do I Find the Starting Pitch?"
This is, without a doubt, the biggest source of anxiety. Before a single note of the melody plays, you need a reliable anchor. The most effective way to get one is to have the tonic chord or arpeggio played for you. From there, just hum that root note—your "Do"—over and over until it's locked into your short-term memory.
Now, when the melody actually starts, your only job is to compare that very first note to the tonic you've been humming.
- Is it the same note? Easy!
- Is it a third above (Mi)?
- Could it be a fifth above (So)?
This simple act of comparison gives you a solid, reliable starting point. It’s so much better than just taking a wild guess and hoping for the best.
"What If I Get Totally Lost in the Middle?"
It happens to absolutely everyone, from beginners to seasoned pros. The single worst thing you can do is panic and try to fix your mistake while the music is still playing. You'll only get more flustered and end up missing the rest of the phrase.
Instead, just accept that you missed a beat or two. It's okay. Leave a blank space on your staff paper and immediately shift your focus to catching the next part of the melody you can confidently grab onto. It is far, far better to accurately transcribe 80% of a melody than to have a bunch of small, panicked errors scattered throughout. You can always use the next playback to focus specifically on that blank spot.
Key Takeaway: Don't let one little mistake sink the whole ship. The goal here is progress, not perfection on the first try. Leave a blank, take a breath, and get ready to catch the next phrase.
"How Many Times Should I Listen?"
There’s no magic number here, but listening on a loop without a plan is just a waste of time. A more structured listening strategy is infinitely more effective. For most melodies you'll encounter, a four-to-five listening process works wonders:
- First Listen: Just listen. Don’t even think about writing. Your only goal is to internalize the melody.
- Second Listen: Now, grab your pencil. Notate the rhythm and sketch the general melodic contour—does it go up, down, leap, or move by step?
- Third Listen: Pinpoint that starting pitch and any other "anchor" notes that stand out (like the highest or lowest notes).
- Fourth Listen: Time to fill in the gaps. Use your knowledge of intervals and solfege to figure out the remaining pitches.
- Fifth Listen: This is your proofreading pass. Sing back what you wrote down and see if it matches the original recording.
This structured approach gives every single listen a clear purpose. It’s a method honed by experience. In fact, a full study on music pedagogy showed a real depth of experience among music educators, with 27.7% having taught for 1-5 years, another 27.7% for 6-10 years, and a seasoned 13.8% with over 21 years in the classroom. That collective wisdom points toward structured, purposeful practice.
Ready to put these answers into action? My Ear Training Journey is packed with engaging musical games that build your relative pitch and make this whole process feel more like play and less like a chore. You can start your own journey to a better ear today at https://www.myeartrainingjourney.com.